‘Taco-meter’ – a device used to measure how quickly you can obtain tacos from your current location
If you’ve followed Bazaarvoice’s R&D blog, you’ve probably read some of our posts on web application performance testing with tools like Jmeter here and here.
In this post, we’ll continue our dive into web app performance, this time, focusing on testing front end applications.
API Response Time vs App Usability:
Application UI testing in general can be challenging as the cost of doing so (in terms of both time, labor and money) can become quite expensive.
In our previous posts highlighted above, we touched on testing RESTful APIs – which revolves around sending a set of requests to a target, measuring their response times and checking for errors.
For front-end testing, you could do the same – automate requesting the application’s front-end resources and then measuring their collective response times. However, there are additional considerations for front end testing that we must account for – such as cross-browser issues, line speed constraints (i.e. broadband vs. a mobile 3G) as well as client side loading and execution (especially important for JavaScript).
Tools like Jmeter can address some of these concerns, though you may be limited in what can be measured. Plugins for Jmeter that allow Webdriver API access exist but can be difficult to configure, especially in a CI environment (read through these threads from Stack Overflow on getting headless Webdriver to work in Jenkins for example).
There are 3rd party services available that are specialized for UI-focused load tests (e.g. Blazemeter) but these options can sometimes be expensive. This may be too much for some teams in terms of time and money – especially if you’re looking for a solution for introductory, exploratory testing as opposed to something larger in scale.
Webpagetest.org:
Webpagetest.org is an open source project backed by multiple partners such as Google, Akamai and Fastly, among others. You can check out the project’s github page here.
Webpagetest.org is a publicly available service. Its main goal is to provide performance information for web applications, allowing designers and engineers to measure and improve application speed.
Let’s check out Webpagetest.org’s public facing page – note the URL form field. We can try out the service’s basic reporting features by pasting the URL of a website or application into the field and submitting the form. In this case, let’s test the performance of Bazaarvoice’s home page.
Before submitting the form however, note some of the additional options made available to us:
- Browser type
- Location
- Number of tests
- Connection
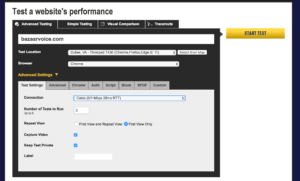
Webpagetest.org’s initial submission form
This service allows us to configure our tests to simulate user requests from a slow, mobile, 3G device in the US to a desktop client with a fiber optic connection in Singapore (just to name a few).
Go ahead and submit the test form. Once the test resolves, you’ll first notice the waterfall snapshot Webpagetest.org returns. This is a reading of the application’s resources (images, JavaScript execution, external API calls, the works). It should look very familiar if you have debugged a web site using a browser’s developer tools console.
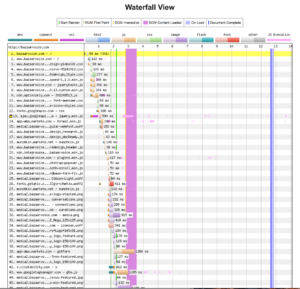
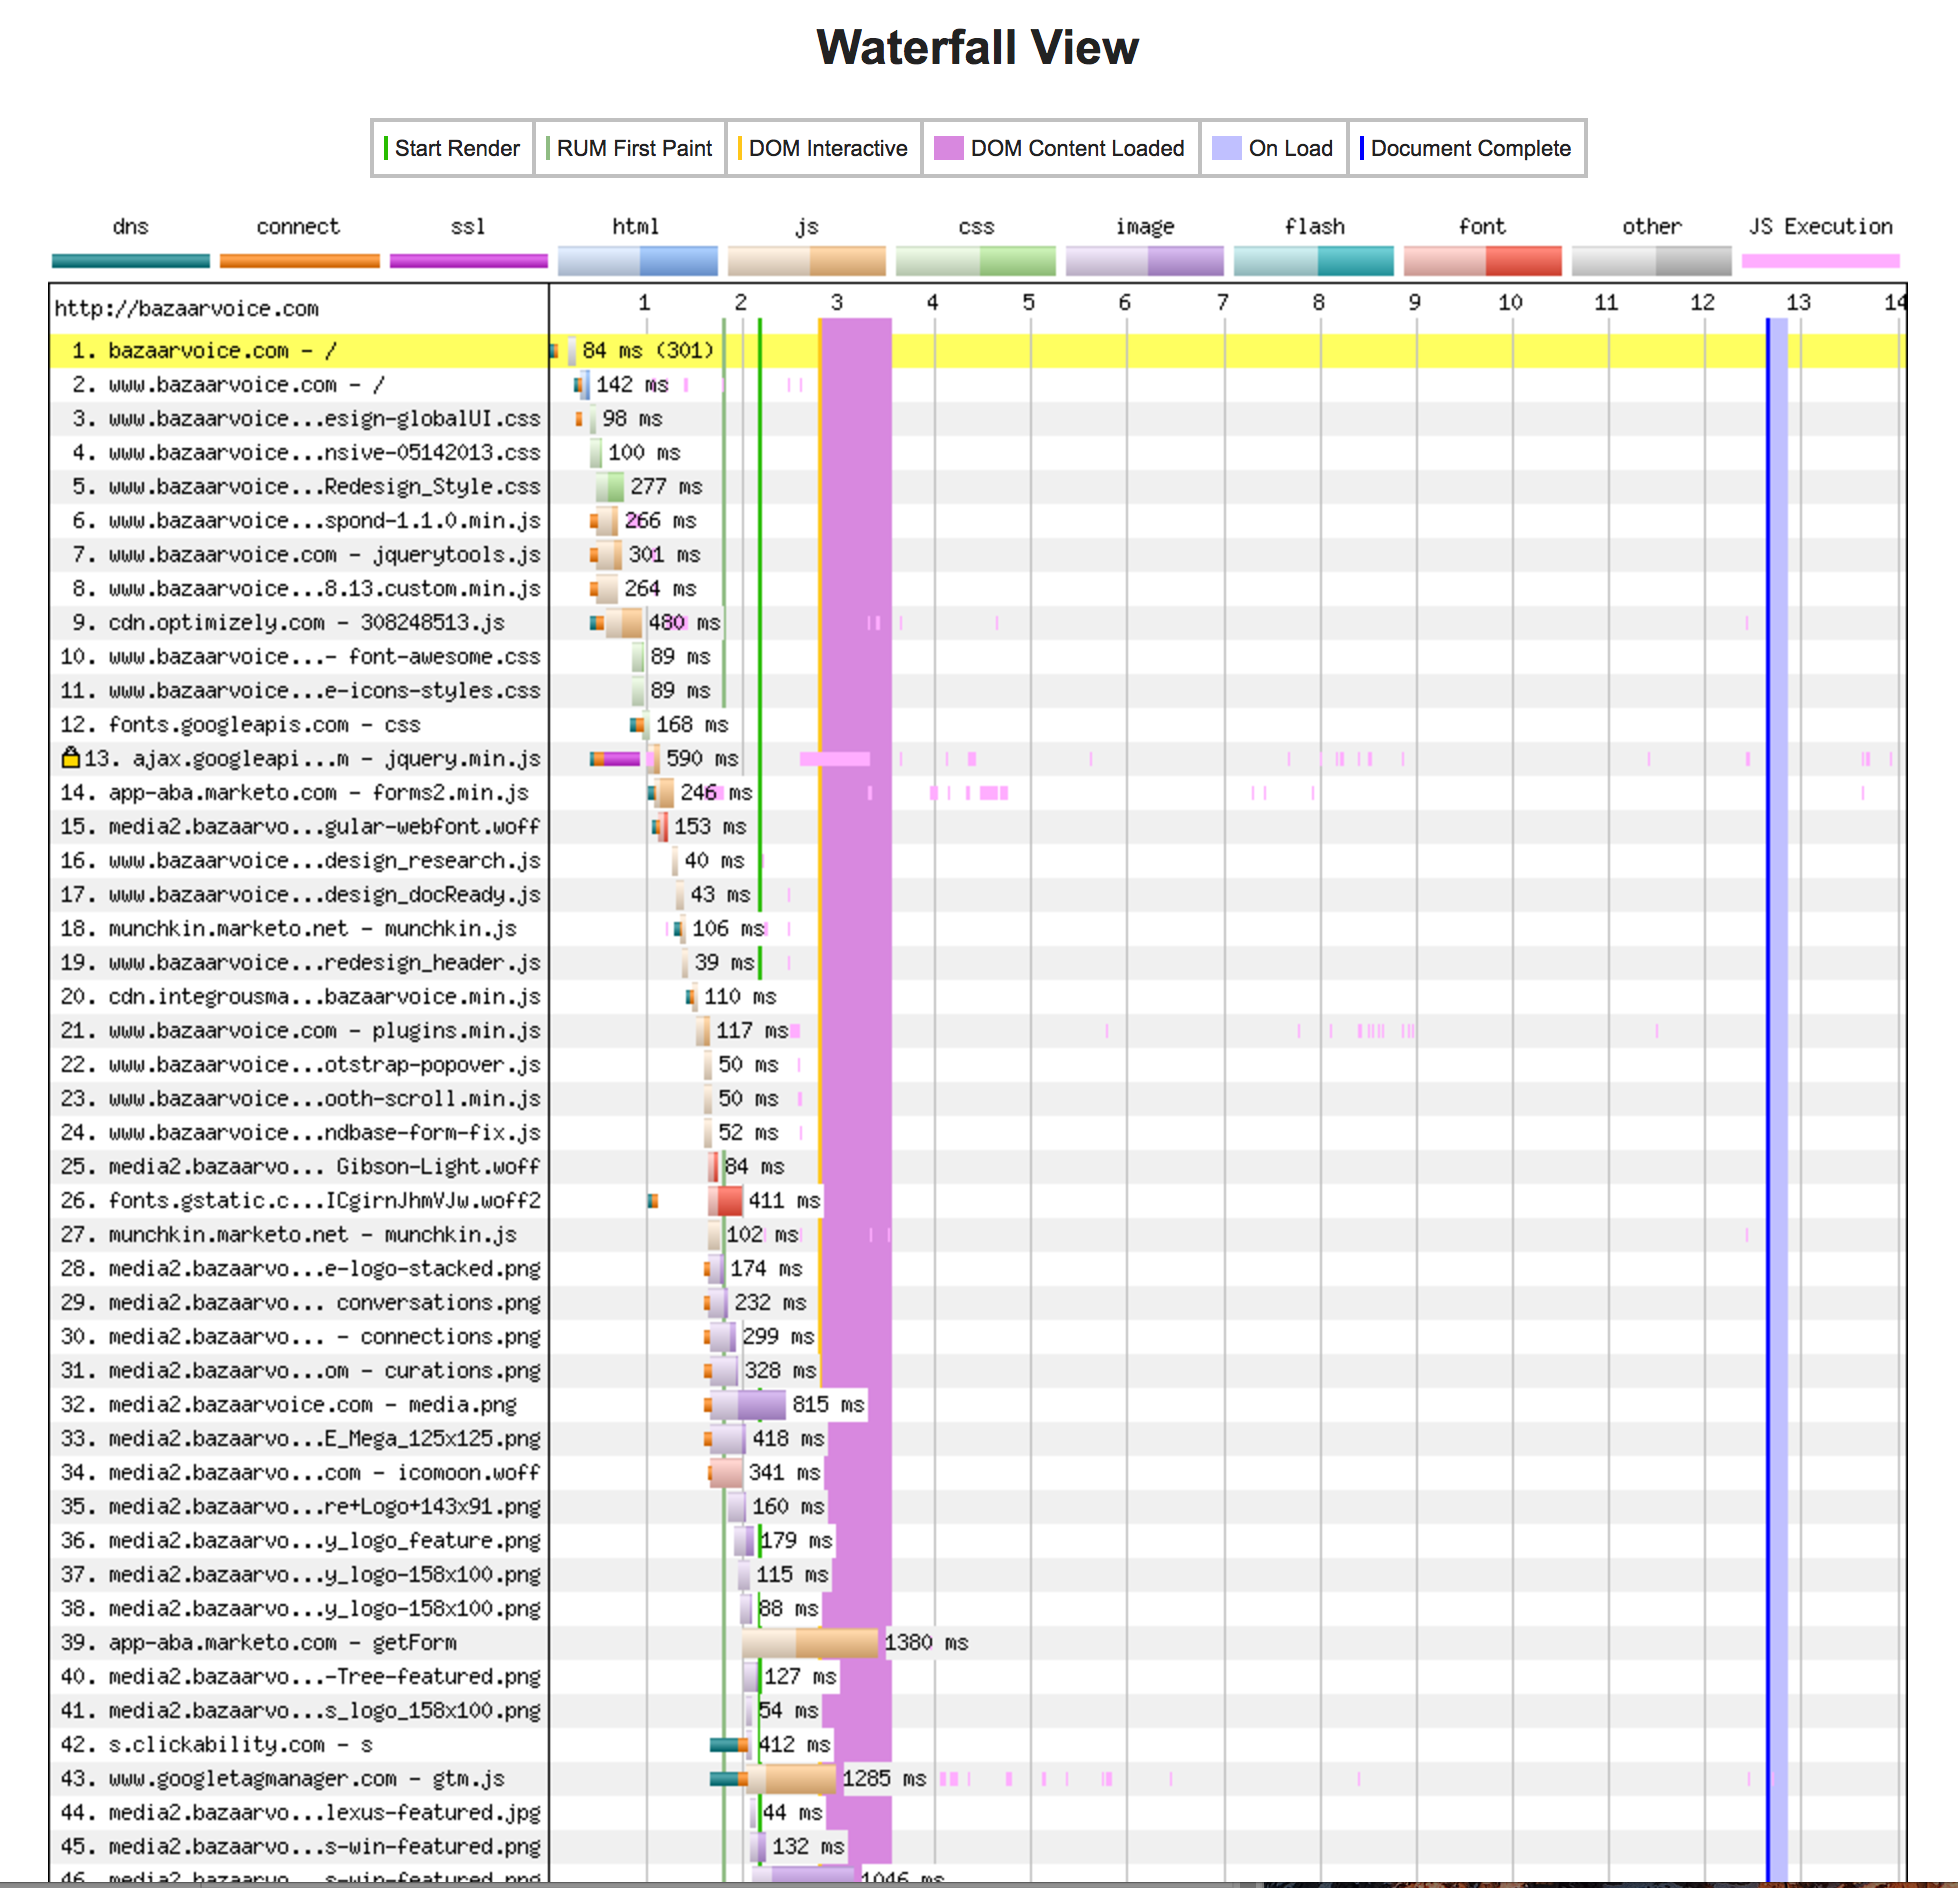
Webpagetest.org’s waterfall report
This waterfall readout gives us a visual timeline of all the assets our web page must load for it to be active for the end user, in the order they are loaded, while recording the time taken to load and/or execute each element.
From here, we can determine which resources which have the longest load times, the largest physical foot prints and give us a clue as to how we might better optimize the application or web page.
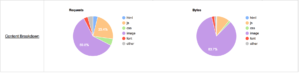
Webpagetest.org’s content breakdown chart
In addition to our waterfall chart, our test results can provide any more data points, including but not limited to:
- Content breakdown by asset type
- CPU utilization
- Bandwidth utilization
- Screen shots and video capture of page load
Armed with this information from our test execution, you can begin to see where we might decide to make adjustment to our site to increase client-side performance.
Getting Programmatic:
Webpagetest.org’s web UI provides some great, easy-to-use features. However, we can automated these tests using Webpagetest.org’s API.
In our next couple of steps, we’ll demonstrate how to do just that using Jenkins, some command line tools and Webpagetest.org’s public API, which you can read more about here.
Before Going Forward:
There are a few limitations or considerations regarding using Webpagetest.org and its API:
- All test results are publicly viewable
- API usage requires you to submit an email address to generate an API key
- API requests are limited to 200 test runs per day
- The maximum number of concurrent test runs allowed is 9
If test result confidentiality or scalability is a major concern, you may want to skip to the end of this article where we discuss using private instances of Webpagetest.org’s service.
Requirements:
As mentioned above, we need an API key from Webpagetest.org. Just visit https://www.webpagetest.org/getkey.php and submit the form made available there. You’ll then receive an email containing your API key.
Once you have your API key – lets set up a test using as CI service. For this, like in our other test tutorials, we’ll be using Jenkins.
For this walkthrough, we’ll use the following:
- Webpagetest’s public API
- Jenkins
- NodeJS (be sure your Jenkins instance has at least 1 server capable of using NodeJS 6 or above)
- Webpagetest (a node module that provides a command-line wrapper for their API)
- Jq-cli (a node module that provides JQ – a JSON query tool)
- Wget-improved (a node implementation of the wget CLI tool – skip this if your Jenkins servers already have this binary installed).
Setting Up the Initial Job:
First, let’s get the Jenkins job up and running and make sure we can use it to reach our primary testing tool.
Do the following:
- Log into Jenkins
- Navigate to a project folder you wish your job to reside in
- Click New Item
- Give the job a name, select Freestyle Project from the menu and click OK
Now that the job is created, let’s set a few basic parameters:
- Check ‘Discard old builds’
- Set the Max # of Builds value to 100
- Check the ‘Provide Node & npm bin/ folder to PATH’ option then choose your desired Node version (if this option is unavailable, see your system administrator).

Specifying a NodeJs version for Jenkins to use
Next, let’s create a temporary build step to verify our job can reach Webpagetest.org
- Click the ‘Add Build Step’ menu button
- Select ‘Execute shell’
- In the text box that appears, past in the following Curl command:
- Save changes to your job and click the build option on the main job settings screen
Once the job has executed, click on the build icon and select the console output option. Review the console output captured by Jenkins. If you see HTML output captured at the end of the job, congratulations, your Jenkins instance can talk to Webpagetest.org (and its API).
Now we are ready to configure our actual job.
The Task at Hand:
The next steps will walk you through creating a test script. The purpose of this script is as follows:
- Install a few command line tools in our Jenkins instance when executed
- Use these tools to execute a test using Webpagetest.org’s API
- Determine when our test execution is complete
- Collect and preserve our results in the following manner:
- HAR (HTTP Archive)The entire test result data in JSON format
- A PNG of our application’s waterfall
- Filter our results for a specific element’s statistic we wish to know about
Adding Tools:
Click on the configure link for your job and scroll to the shell execution window. Remove your curl command and copy the following into the window:
npm install -g webpagetest
npm install -g jq-cli-wrapper
npm install -g wget-improved
If you know that your Jenkins environments comes deployed with wget already installed, you can skip the last npm install command above.
Once this portion of the script executes, we’ll now have a command line tool to execute tests against Webpagetest’s API. This wrapper makes it somewhat easier to work with the API, reducing the amount of syntax we’ll need for this script.
Next in our script, we can declare this command that will kick off our test:
webpagetest test $SITE -k $APIKEY -r $RUNS > test_exec.json
<span style="font-size: 1rem;">testId=$(cat test_exec.json | jq .data.testId)
</span>testId="${testId%\"}"
testId="${testId#\"}"
echo $testId
This script block calls the API, passing it some variables (which we’ll get to in a minute) then saves the results to a JSON file.
Next, we use the command line tools cat and jq to sort our response file, assigning the testId key value from that file to a shell variable. We then use some string manipulation to get rid of a few extraneous quotation marks in our variable.
Finally, we print the testId variable’s contents to the Jenkins console log. The testId variable in this case should now be set to a unique string ID assigned to our test case by the API. All future API requests for this test will require this ID.
Adding Parameters:
Before we go further, let’s address the 3 variables we mentioned above. Using shell variables in the confines of the Jenkins task will give us a bit more flexibility in how we can execute our tests. To finish setting this part up, do the following:
- In the job configuration screen, scroll to and check the ‘This build is parameterized’ option.
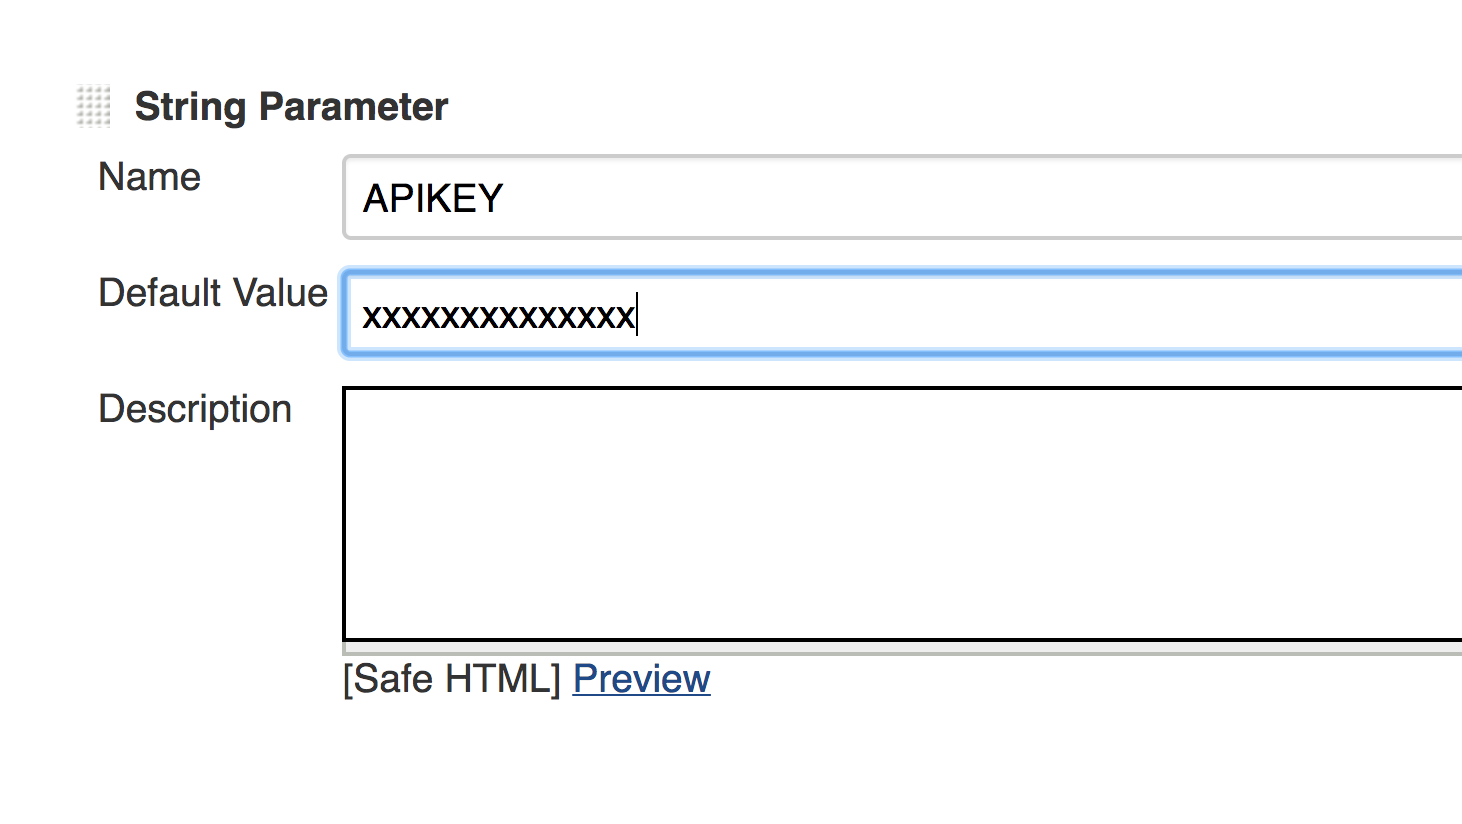
- From the dropdown menu, select String Parameter
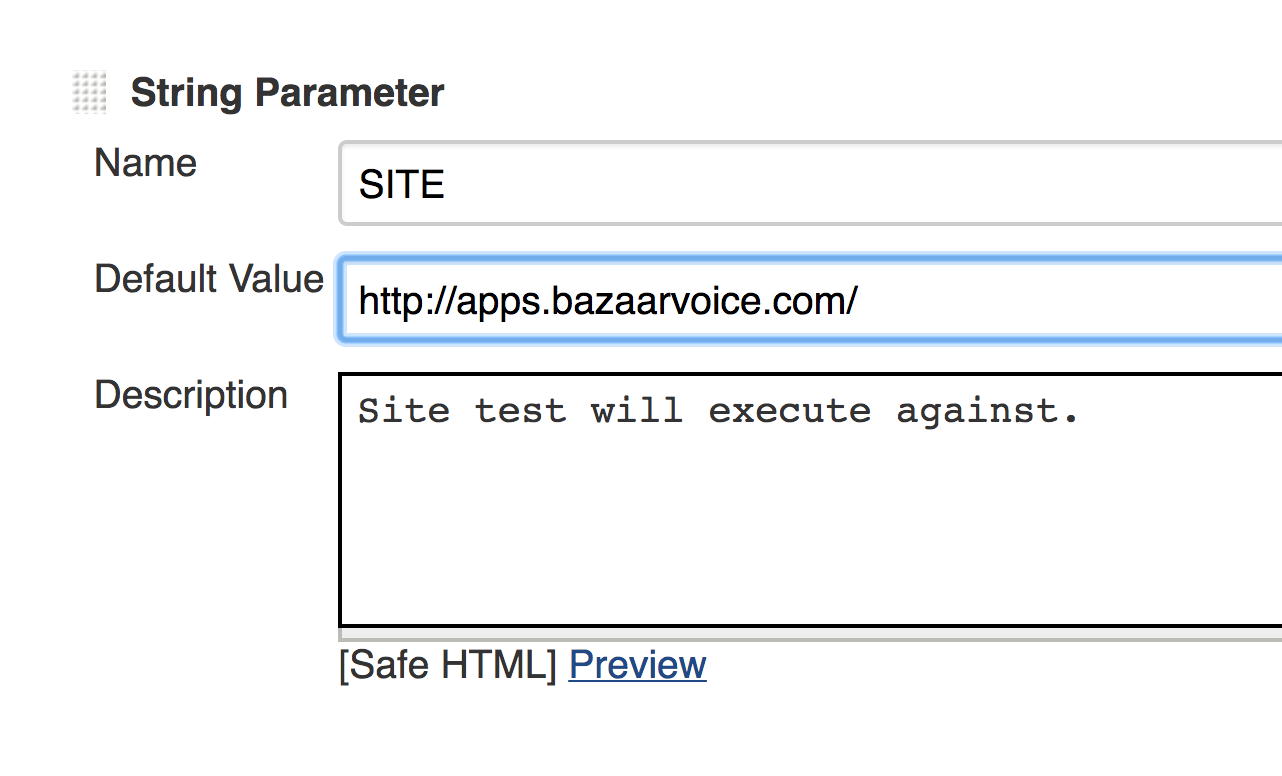
- In the name field, enter SITE
- For the default field, enter a URL you wish to test (e.g. http://www.bazaarvoice.com)
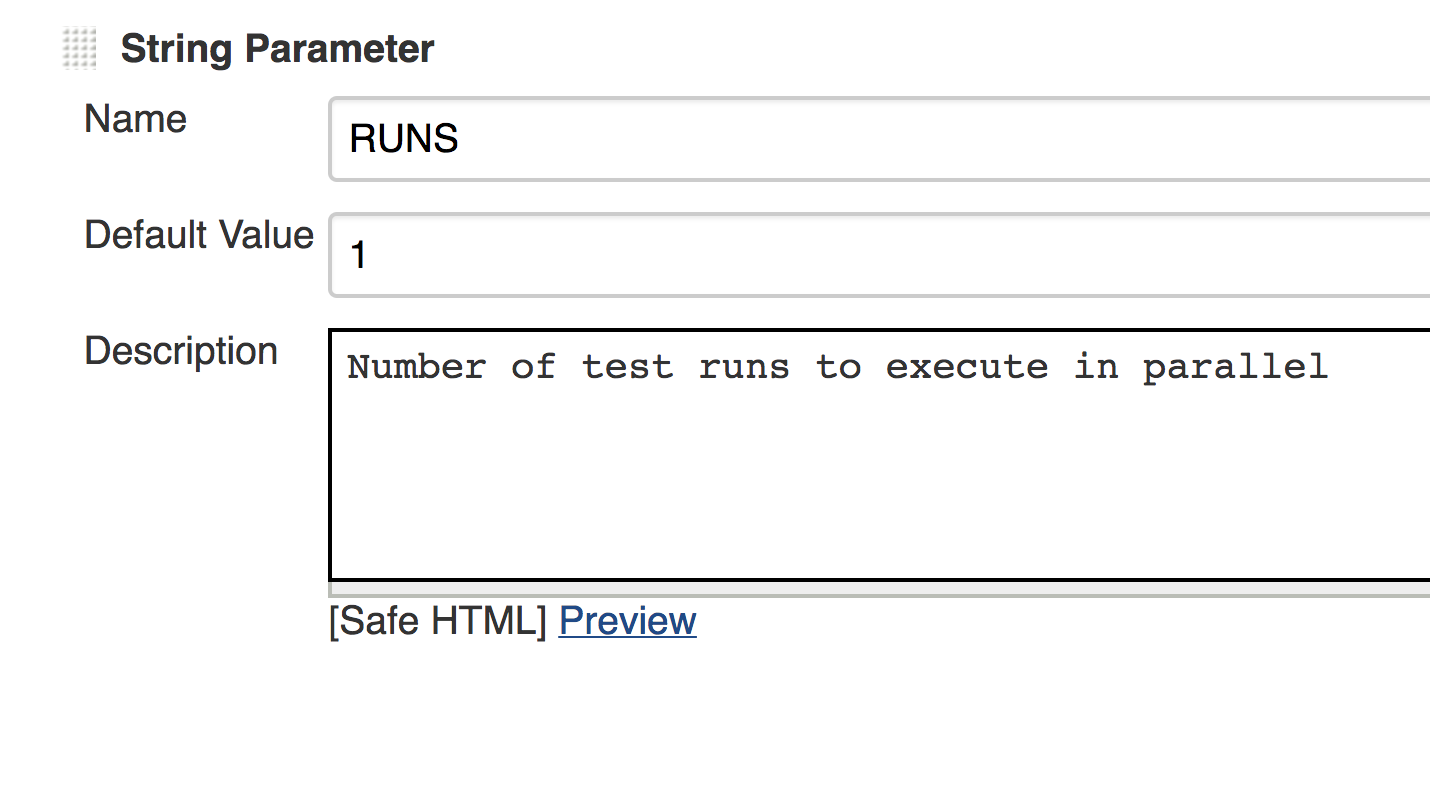
- Repeat this process for the APIKEY and RUNS variables
- Set the RUNS parameter to a value of 1
- Set the default value for the APIKEY parameter to your Webpagetest.org API key.
Save changes to your job and try running it. See if it passes. If you view the console output form the run, there’s probably not much you’ll find useful. We have more work to do.
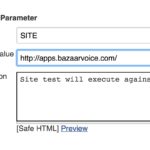
Your site parameter should look like this
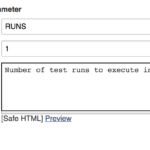
Your runs parameter should look like this
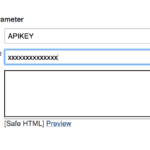
And your key parameter should looks like this
Waiting in Line:
The next portion of our script is probably the trickiest part of this exercise. When executing a test with the Webpagetest.org web form, you probably noticed that as your test run executes, your test is placed into a queue.

Cue the Jeopardy! theme…
Depending current API usage, we won’t be able to tell how long we may be waiting in line for our test execution to finish. Nor will we know exactly how long a given test will take.
To account for that, next we’ll have to modify our script to poll the API for our test’s status until our test is complete. Luckily, Webpagetest.org’s API provides a ‘status’ endpoint we can utilize for this.
Add this to your script:
webpagetest status $testId -o status.json
testStatus=$(cat status.json | jq .data.testsCompleted)
Using our API wrapper for webpage test and jq, we’re posting a request to the API’s status endpoint, with our test ID variable passed as an argument. The response then is saved to the file, status.json.
Next, we use cat and jq to filter the content of status.json, returning the contents of the ‘testsCompleted’ (which is a child of the ‘data’ node) within that file. This gets assigned to a new variable – testStatus.
Still Waiting in Line:

Just like going to the DMV
The response returned when polling the status endpoint contains a key called ‘status’ with possible values set to ‘In progress’ or ‘Completed’. This seems like the perfect argument we would want to check to monitor our test status.However, in practice, this key-value pair can be set prematurely – returning a value of ‘Completed’ when not necessarily every run within our test set has finished. This can result in our script attempting to retrieve an unfinished test result – which would be partial or empty.
After some trial and error, it turns out that reading the ‘testsCompleted’ key from the status response is a more accurate read as to the status of our tests. This key contains an integer value equal to the number of test runs you specified that have completed execution.
Add this to your script:
while [ "$testStatus" != "$RUNS" ]
do
sleep 10
webpagetest status $testId -o status.json
testStatus=$(cat status.json | jq .data.testsCompleted)
done
This loop compares the number of tests completed with the number of runs we specified via our Jenkins string variable, $RUNS.
While those two variables are not equal, we request our test’s status, overwrite the status.json file with our new response, filter that file again with jq and assign our updated ‘testsCompleted’ value to our shell variable.
Note that the 10 second sleep command within the loop is optional. We added that as to not overload the API with requests every second for our test’s status.
Once the condition is met, we know that the number of tests runs we requested should be the same number completed. We can now move on.
Getting The Big Report:
Once we have passed our while loop, we can assume that our test has completed. Now we simply need to retrieve our results:
webpagetest har $testId -o results.har
webpagetest results $testId -o results.json
Webpagetest’s API provides multiple options to retrieve result information for any given test. In this case, we are asking the API to give us the test results via HAR format.
Note – if you wish to deliver your test results in HAR format, you will need a 3rd party application or service to view .har files. There are several options available including stand-alone applications such as Charles Proxy and Har Viewer.
Additionally, we are going to retrieve the test results from our run using the API’s results endpoint and assign this to a JSON file – results.json.
Now would be a great time to save the changes we’ve made to your test.
Getting the Big Picture:
Next, we want to retrieve the web application’s waterfall image – similar to what was returned when executing our test via the Webpagetest.org web UI.
To do so, add this to your script:
waterfallImage=$(cat results.json | jq '.data.runs."1".firstView'.images.waterfall)
waterfallImage="${waterfallImage%\"}"
waterfallImage="${waterfallImage#\"}"
nwget $waterfallImage -O waterfall.png
Since we’ve already retrieved our test results and saved them to the results.json file, we simply need to filter this file for a key-value pair that contains the URL for where our waterfall snapshot resides online.
In the results.json file, the main parent that contains all test run information is the ‘data’ node. Within that node, our results are divided up amongst each test run. Here we will further filter our results.json object based on the 1st test run.
Within that test run’s ‘firstView’ node, we have an images node that contains our waterfall image.
We then assign the value of that node to another shell variable (and then use some string manipulation to trim off some unnecessary leading and ending quotation characters).
Finally, as we installed the nwget module at the beginning of this script, we invoke it, passing the URL of our waterfall image as an argument and the option to output the result to a PNG file.
Archiving Results:
Upon each execution, we wish to save our results files so that we can build a collection of historical data as we continue to build and test our application. Doing this within Jenkins is easy
Just click on the ‘Add Post Build Action’ button within the Jenkins job configuration menu and select ‘Archive the artifacts’ from the menu.
In the text field provided for this new step, enter ‘*.har, results.json, waterfall.png’ and click save.
Now, when you run your test job – once the script succeeds, it will save each instance of our retrieved HAR, waterfall image and results.json file to each respective Jenkins run.
Once you save your job configuration, click the ‘Build with Parameters’ button and try running it. Your artifacts should be appended to each job run once it completes.

Collecting your results in Jenkins
Like a Key-Value Pair in a JSON Haystack:
Next, we’re going to talk about result filtering. The results.json provided initially by the API is exhaustive in size. Go ahead and scroll through that file saved from your last successful test run (you will probably be scrolling for a while). There’s a mountain of data there but let’s see if we can fish some information out of the pile.
The next JSON-relative trick we’re going to show you is how you can filter the results.json from Webpagetest.org down to a specific object you wish to measure statistics for.
The structure of the results.json lists every web element (from .js libraries to images, to .css files) called during the test and enumerates some statistics about it (e.g. time to load, size, etc.). What if your goal is to monitor and measure statistics about a very specific element within your application (say, a custom .js library you ship with your app)?

That’s one way of finding it…
For that purpose, we’ll use cat and js again to filter our results down to one, specific file/element’s results. Try adding something like this to your script:
cat results.json | jq '.data.runs."1".firstView.requests[] | select(.url | contains(" <a unique identifying string for your web element> "))' > stats.json
This is similar to how we filtered our results to obtain our waterfall image above. In this case, each test result from Webpagetest.org contains a JSON array called ‘requests’. Each item in the array is delineated by the URL for each relative web element.
Our script command above parses the contests of results.json, pulling the ‘results’ array out of the initial test run, then filtering that array based on the ‘url’ key, provided that key matches the string we provided to jq’s ‘contains’ method.
These filtered results are then output to the stats.json file. This file will contain the specific test result statistics for your specific web element.
Add stats.json to the list of artifacts you wish to archive per test run. Now save and run your test again. Note, you may need to experiment with the arguments passed to JQ’s contains method to filter your results based on your specific needs.
Next Steps:
At this point, we should have a Jenkins job that contains a script that will allow us to execute tests against Webpagetest.org’s public API and retrieve and archive test results in a set of files and formats.
This can be handy in of itself but what if you have team or organization members who need access to some or all of this data but do not have access to Jenkins (for security purposes or otherwise)?
Some options to expose this data to other teams could be:
- Sync your archived elements to a publicly available bucket in Amazon S3
- Have a 3rd party monitoring service (Datadog, Sumo Logic, etc.) read and report test findings
- Send out email notifications if some filtered stat within our results exceeds some threshold
There’s quite a few ideas to expand upon for this kind of testing and reporting. We’ll cover some of these in a future blog post so stay tuned for that.
Private or Testing and Wrap-Up:
If you find this method of performance testing useful but are feeling a bit limited by Webpagetest.org’s restrictions on their public API (or the fact that all test results are made public), it is worth mentioning that if you’re needing something more robust or confidential, you can host your own, private instance of the free, open-source API (see Webpagetest.org’s github project for documentation).
Additionally, Webpagetest.org also has pre-built versions of their app available as Amazon EC2 AMIs for use by anyone with AWS access. You can find more information on their free AMIs here.
Additionally, here’s the script we’ve put together through this post in its entirety:
npm install -g webpagetest
npm install -g jq-cli-wrapper
npm install -g wget-improved

webpagetest test $SITE -k $APIKEY -r $RUNS > test_exec.json
<span style="font-size: 1rem;">testId=$(cat test_exec.json | jq .data.testId)
</span>testId="${testId%\"}"
testId="${testId#\"}"
echo $testId

webpagetest status $testId -o status.json
testStatus=$(cat status.json | jq .data.testsCompleted)

while [ "$testStatus" != "$RUNS" ]
do
sleep 10
webpagetest status $testId -o status.json
testStatus=$(cat status.json | jq .data.testsCompleted)
done

waterfallImage=$(cat results.json | jq '.data.runs."1".firstView'.images.waterfall)
waterfallImage="${waterfallImage%\"}"
waterfallImage="${waterfallImage#\"}"
nwget $waterfallImage -O waterfall.png

cat results.json | jq '.data.runs."1".firstView.requests[] | select(.url | contains(" <a unique identifying string for your web element> "))' > stats.json
We hope this article has been helpful in demonstrating how some free tools and services can be used to quickly stand up performance testing for your web applications. Please check back with our R&D blog soon for future articles on this and other performance related topics.