
Are you looking to develop your own application on top of the Bazaarvoice Response API? Well, we got something for you. The Response API Demo App is a simple Node-React application which demonstrates how to use Response API in conjunction with our 3-legged OAuth2 API. It is recommended to go through the Developer Portal and read about OAuth2 API and the Response API before diving into the application architecture below.
This application was bootstrapped with Create React App and consists of two separate components – the front-end client side in React and a back-end server side in NodeJS.
Let’s talk more about the back-end architecture first. Almost all of the server-side logic is contained in server.js. Using the Express framework for NodeJS, this file defines the following endpoints:
/api/redirect– This endpoint is supposed to handle any incoming redirections from OAuth2, obtain an access token using either an authorization code (if it is a first time login) or a refresh token (if the existing access token has expired or is expiring soon). If you are building an app integrated with OAuth2, you must define an endpoint to handle redirects in a similar way./api/check-login– This is an application specific endpoint which was defined so that the client side can easily verify using the server if a user is logged in or not so that they can then be taken to the login page.- Abstraction of GET, POST, PATCH, DELETE calls to the Response API – These endpoints are basically a clone of the endpoints provided by the Response API which are documented here on the Developer Portal. This abstraction is done so that the client side can call these secured endpoints in-directly without having to expose any of the OAuth2 credentials through the user’s browser. All our logic that relates to obtaining and refreshing OAuth tokens stays on the server side securely.
This application uses express-session for storing and maintaining user sessions using browser cookies which is important for being able to maintain multiple users without storing state on your backend. However, this implementation of user sessions is not suitable for production applications and you should probably be maintaining user sessions using a combination of cookies and session storage.
The server side credentials and configurations are supposed to be stored in server/server-config.json which is then picked up by the Node server. Note that these credentials are confidential and should not be exposed to the client side in any way.
Coming to the front-end architecture, we are using the React library and React Semantic UI for the UI Components. The client side does a bunch of stuff ranging from querying a review from the Conversations API and then using that Review ID to obtain/add/modify/delete the corresponding responses to that review using the Response API. Following components make up the core of the front-end:
- Login Page – If a user is not logged in (we check this using the
/api/check-loginendpoint as discussed above), we redirect them to this page which has a little widget that allows them to go to a Bazaarvoice login page, enter their Bazaarvoice Portal login credentials and once they are properly authenticated, the OAuth2 API redirects them to the/api/redirectendpoint which then handles all the token exchange logic. You can configure this redirect URI to be whatever you want during your app provisioning process but for the demo application to work as expected, it should behttp://localhost:5000/api/redirectas you can see in the config file. All of the OAuth2 login and token exchange process happens during this step.
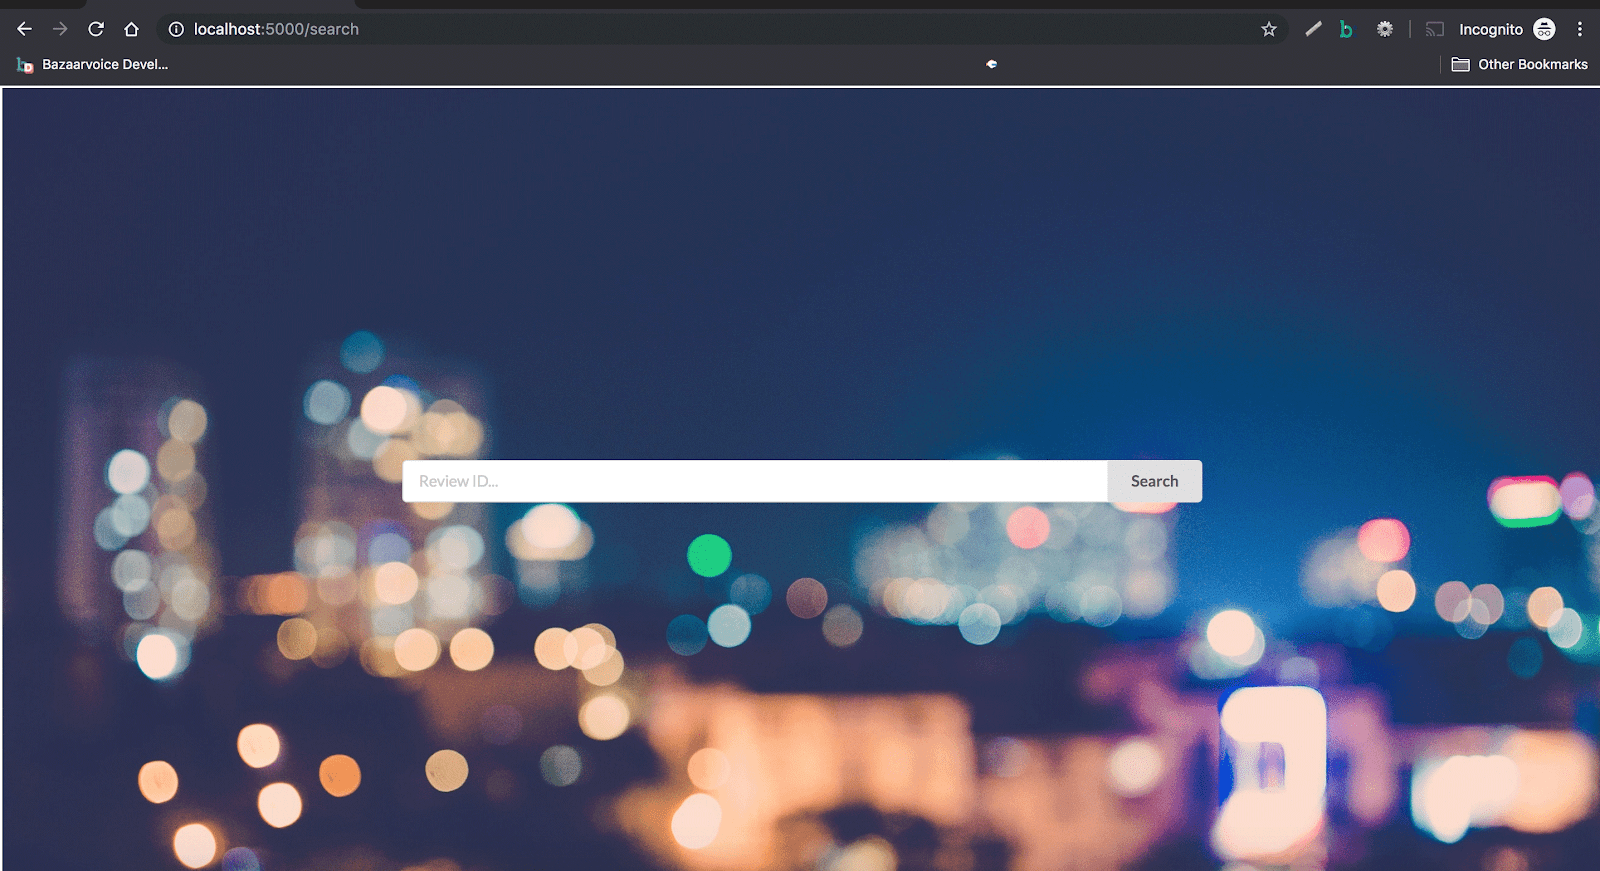
- Search Page – This page essentially serves as the landing page for this application where a user can enter a Review ID (this can be obtained using Workbench or the Conversations API) and then they are taken to the review page.
- Review Page – Once the user is authenticated and they search for a valid Review ID, they are taken to this page which fetches the specified review by calling the Conversations API and then fetches all responses for that review by calling the application’s backend which in turn calls the Response API. So, on this page, a user can see contents of a review along with all responses. This also allows them to add a new response, edit an existing one or delete a response.

You might have noticed a department field on a response which appears as a drop-down menu. These menu options have been hard-coded in the demo application and can be modified in the departmentFormOptions.js file. Further, client.js is an utility file that presents all the commonly used API calls as simple functions accessible to all components on the client side.
The client side configurations are stored in response-demo/client/src/utils/config.js file. This is built into the the project when the front-end client is packaged before running. These configurations are accessible to the browser so you shouldn’t store anything confidential here.
Apart from that, the application follows a pretty standard architecture and you can read more about it here. On the deployment side of things, there is a Dockerfile which builds the client artifacts, sets up the server and gets the application up and running on your local environment. Follow these instructions to get it up and running locally. The app can also be deployed to Flynn by making changes to the redirect URI in configurations and also making sure that your Flynn Redirect URI is added to the list of allowed Redirect URIs for your app credentials.